
|
| How to Extract Barcodes from Documents using Document AI in Power Automate |
| 1/14/2026 - Brian O'Neill |
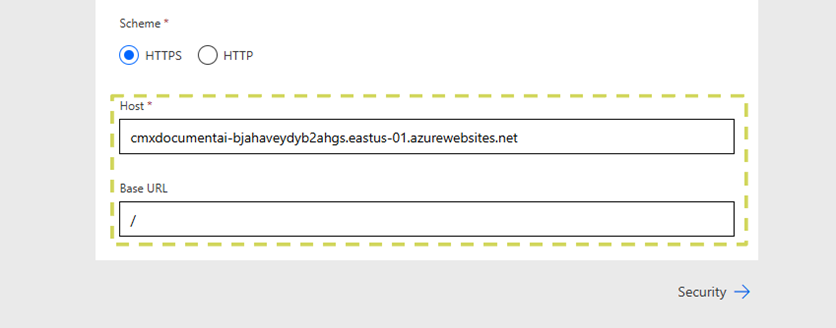
Cloudmersive Document AI offers a powerful suite of tools capable of both enhancing and greatly simplifying our document processing workflows in Power Automate. Today, we’re continuing our series of Document AI walkthroughs by exploring Document AI’s barcode extraction capabilities in a short example Power Automate flow. Cloudmersive Document AI Barcode ExtractionThe Document AI API was launched at the tail end of 2025, and it’s now ready to be imported to Power Automate as a custom connector. Once imported, powerful Document AI actions like In this article, we’ll walk through a very simple Power Automate flow which takes advantage of Document AI’s barcode extraction capabilities to extract the barcode type and value from a barcode image on an example file. Our example file will be an invoice document with a QR barcode that encodes the invoice payment link. We’ll now take a quick look at the barcode extraction API response model to better understand how our returned barcode information is structured. As shown above, the response JSON stores barcode types and values as independent objects within a Uploading a Custom Document AI Connector to Power AutomateBefore we get started, we’ll first address that the Document AI connector must be uploaded to Power Automate as a custom connector at this time. We’re working on making the Document AI API available as a premium connector in the Power Automate library, but we’re not quite there yet. To upload any Cloudmersive API to Power Automate as a custom connector, we’ll need to 1) upload the API specification to the power platform via JSON file or OpenAPI URL and 2) set a host endpoint and base path in the General information tab of the custom connector editor.
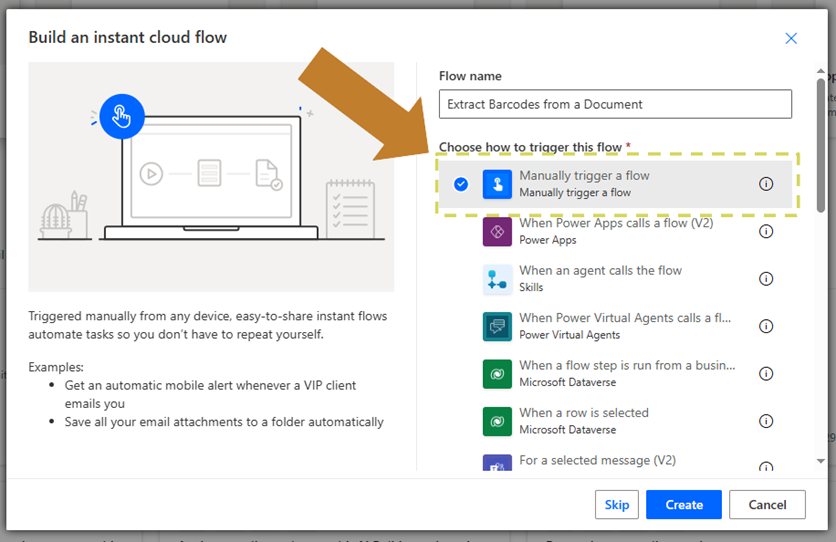
If we’re a Cloudmesrive customer using a private or managed instance endpoint, we can use that endpoint as the host in our custom connector to take full advantage of our deployed infrastructure in Power Automate. Extracting Barcodes in a Power Automate FlowAfter we’ve successfully created our Document AI custom connector, we’ll begin building our barcode extraction workflow. As mentioned, we’ll keep things extremely simple so it’s easy to test our flow with one or multiple example documents. We’ll build an
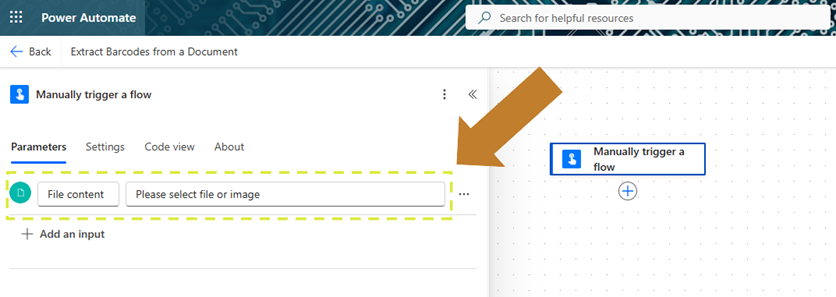
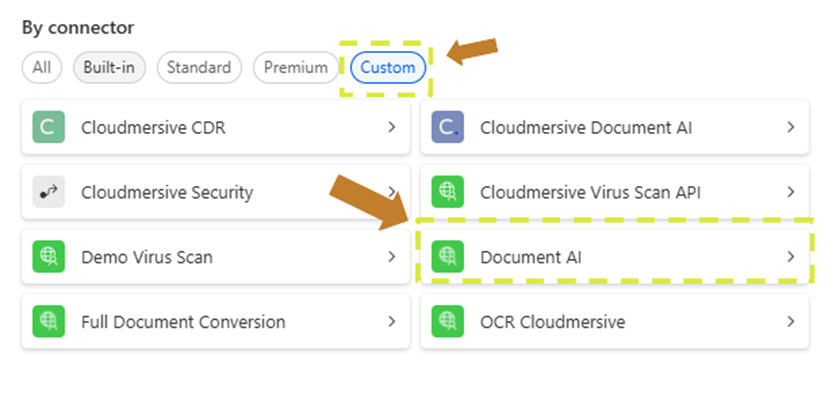
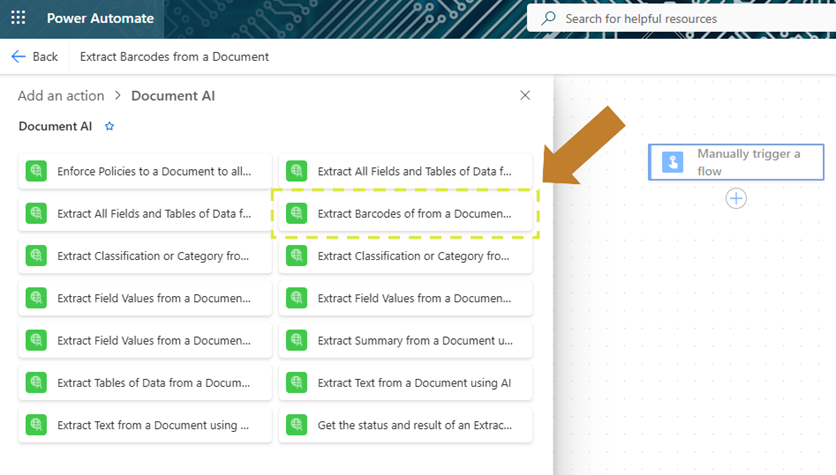
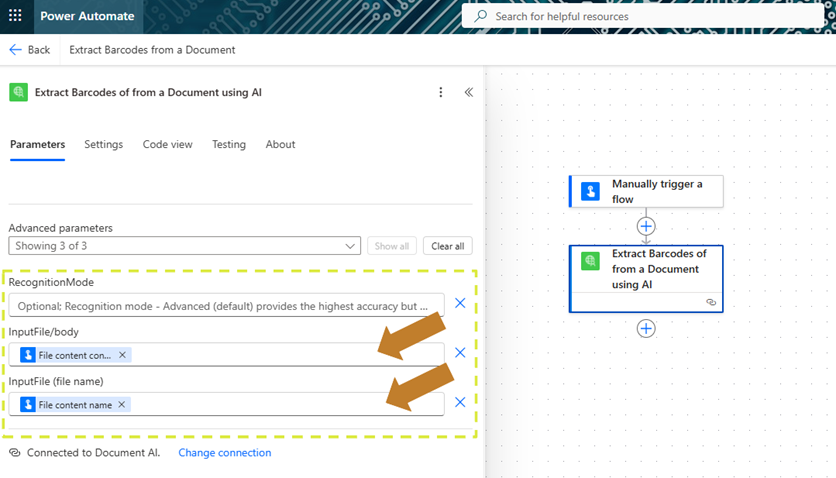
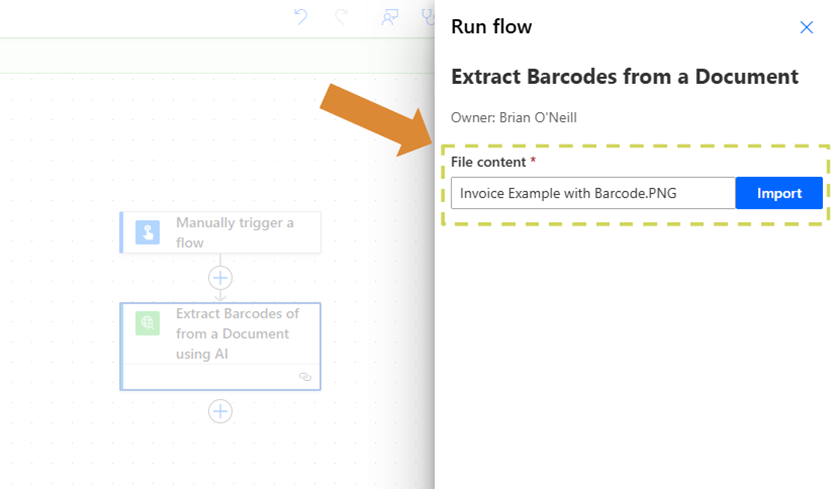
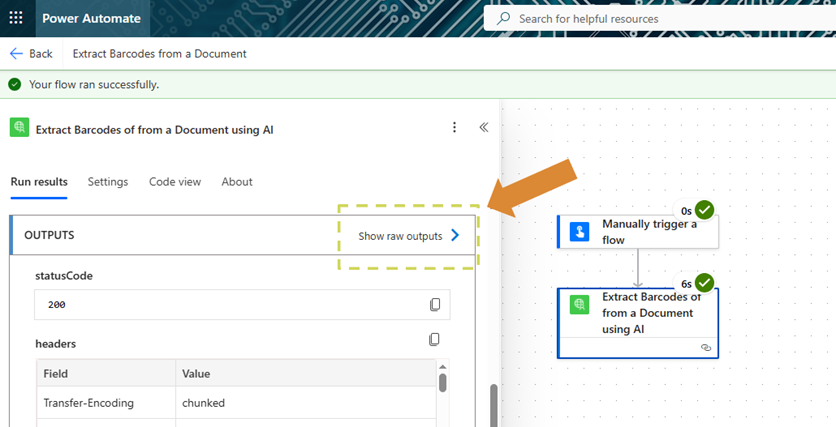
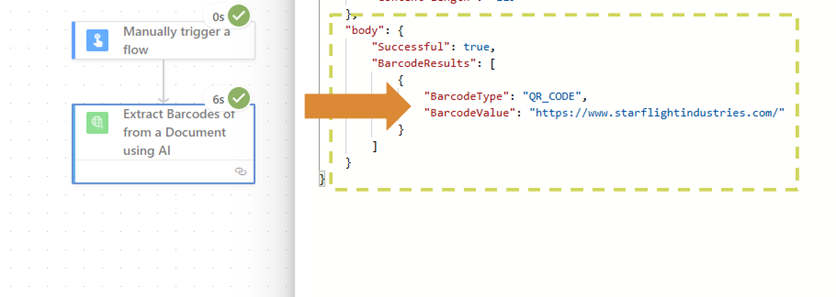
As a first step, we’ll open the Next, we’ll add a new action and navigate to the After we select our Document AI connector, we’ll locate and select the We’ll now configure this action’s parameters. Here, we’ll pass down dynamic content from our At this point, we’ve completed all the steps required to test Document AI barcode extraction capabilities in a Power Automate workflow. We’ll now save our flow and run a test with our example document. After our flow finishes running, we’ll click on our barcode extraction action and select In our response body, we’ll find our QR code type and link value accurately stored in our singular In one quick step, we extracted a barcode from our example invoice and returned the encoded URL as plain text in our flow. Since the URL is well-formed, we can immediately navigate to the URL endpoint or share it with a flow stakeholder in our Accounts Payable department. ConclusionIn this article, we learned how to easily extract barcodes from a document using the Document AI Including Document AI in our Power Automate workflows instantly improves our ability to process important document contents without any human intervention. With Document AI, we can easily extract key barcode information as a quick pitstop in an otherwise lengthy and complex enterprise workflow. For expert advice on using the Cloudmersive Document AI API in Power Automate, please reach out to a Cloudmersive representative. |
Jetzt registrieren oder 

 Technische Artikel
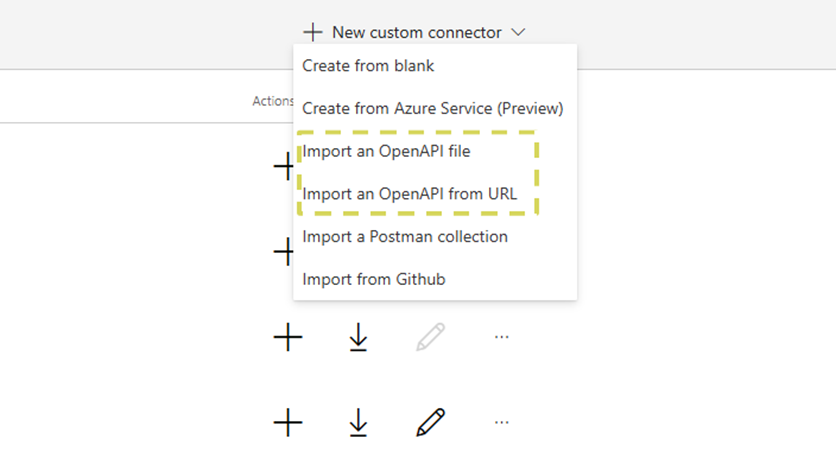

 Virenscan-APIs
 Content Disarm and Reconstruction APIs
 Spam-Erkennungs-APIs
 APIs für Dokumentenkonvertierung & -verarbeitung
 Document AI APIs
 Natural Language Processing (NLP) APIs
 Optical Character Recognition (OCR) APIs
 APIs für Bild- und Gesichtserkennung und -verarbeitung